Today I ran across an interesting MakeZine project article that shows how to use an Arduino Leonardo and an RFID card reader to make a custom password entry gadget. According to the article, the cost was about $75.
$75?! I accomplished the same thing last year for about $16 … with no soldering and without modifying or damaging any hardware. (You can get the same parts today for closer to $11.)
I can’t take credit for the idea … that goes to a young Boy Scout at one of the Electronics merit badge sessions I taught at a local PowWow.

Teaching an Electronics merit badge class
He asked if there was any way he could make a device that would enter his password (for a particular PC-based game) when he passed a card over it. I said that I had never done it, but that it should be possible using an Arduino Leonardo, because it can act like a USB keyboard and/or mouse.
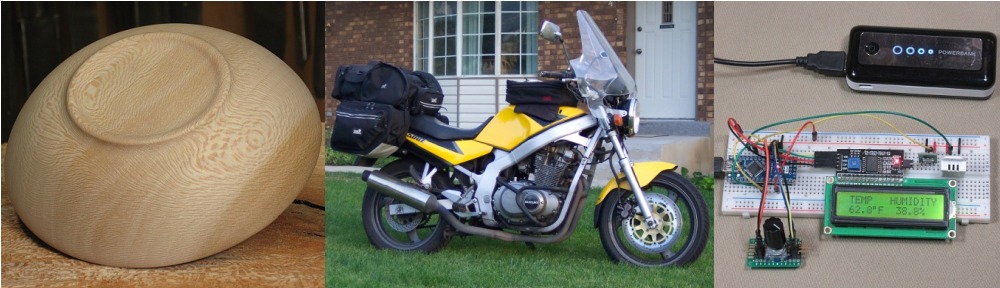
In an effort to “stay one step ahead of the kids” I went home and did some research. It didn’t take too long to figure out how to “git ‘er done”. Here’s the finished gadget:

Auto Login Card Reader with RFID card and fob
Once the Leonardo is programmed — using an appropriate RFID library and custom logic to recognize your specific RFID card(s) and/or fob(s) — you simply set the card or fob on the box (or pass it slowly over the box). The password you configured is automatically “typed in” at the current cursor position in your application. You can use a standard text editor or word processor (if no one is watching!) to make sure the correct password is being generated before trying it with a regular password entry field.
Here is what the device looks like on the inside:

Auto Login Card Reader with top removed
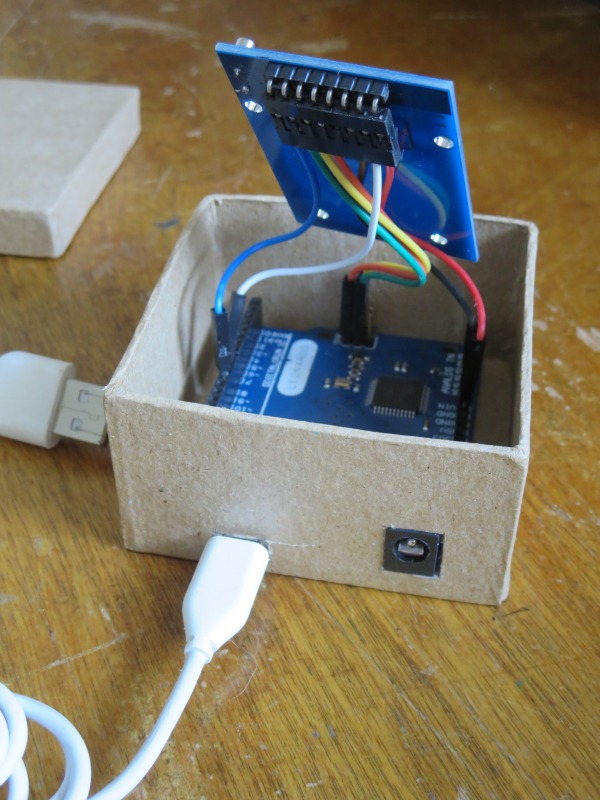
Auto Login Card Reader with Arduino Leonardo (clone) and wiring connections exposed
I said earlier that no soldering was required. OK, I admit that I did have to solder the 8-pin angle header onto the RFID-RC522 card reader board, but that shouldn’t count…. On the other hand, I used several Dupont connectors and a crimping tool to make the short male-to-female interconnect wires. If you don’t have the right tools and supplies for that, you could create a cheaper, more permanent result by:
- Cutting 7 male-to-male breadboard jumper wires to the right length
- Stripping 3/16″ insulation off the cut end of each wire
- Soldering the stripped wire ends to the RFID card reader instead of the header pins that come with it.
While writing this post, it occurred to me that I could easily gain a lot of extra functionality by connecting additional Leonardo pins to a membrane keypad:

With some extra logic I could have the device “type” any of 12 unique phrases (not just passwords!) by pressing the appropriate button as I pass a recognized RFID card/fob over the box. In fact, I should be able to program the device to handle lots of different phrases; one phrase per button for any of a bunch of RFID cards and/or fobs.
If I get that working, I’ll post an update to this entry. Stay tuned!
You must be logged in to post a comment.